How to Clip a Twitch Stream from a VOD
Three ways to turn a past Twitch broadcast into clips: Twitch Clips, the Highlighter, and downloading the VOD for vertical Shorts. Limits, steps and when to use each.
Your stream ended, and somewhere in those four hours are the moments worth sharing. Twitch gives you a few ways to pull them out, each with its own limits. Here is how each one works and when to use it.
Before anything: is your VOD saved?
Twitch only keeps a VOD if "Store past broadcasts" is on. You find it in Creator Dashboard > Settings > Stream > VOD Settings, and it can only be changed on the web. Without it there is no VOD, and no Highlights or Clips from it.
VODs do not stay forever:
| Account | VOD stays |
|---|---|
| Most Partners, Prime and Turbo users | 60 days |
| Affiliates | 14 days |
| Everyone else | 7 days |
Option 1: Twitch Clips
Clips are the quickest option. You can clip from a live stream or from a VOD.
- Length: 5 to 60 seconds.
- Viewers can clip too, and on many setups you can say "Twitch, Clip That".
- In the Clips Manager, clips have a landscape and a portrait version, and you can download both for your own channel.
Best for: single moments to share quickly on social media.
Option 2: Highlights
A Highlight is a longer cut from your VOD that stays on your channel after the VOD expires.
- Go to Creator Dashboard > Content > Video Producer.
- Find the past broadcast and choose Highlight.
- Mark the section in the Highlighter and save.
Highlights and Uploads share a 100-hour total limit per channel. Past Broadcasts and Clips do not count toward it.
Best for: keeping key parts of a stream on your channel for good.
Option 3: Download the VOD and clip it elsewhere
For Shorts, Reels and TikTok you usually want vertical clips with captions, which Twitch does not make from your VOD.
- Creator Dashboard > Content > Video Producer.
- Three dots next to the broadcast > Download.
- Upload the file to a clipping tool.
Muted sections stay muted in the download.
Best for: turning a whole stream into many vertical clips.
Doing option 3 without scrubbing
Finding moments in a long VOD is the slow part. With ViceForge, you upload the VOD and choose AI Gaming (for gameplay) or AI Creator (for talk and IRL streams). The AI looks for action, sound peaks, your reactions and facecam moments, then cuts the clips.
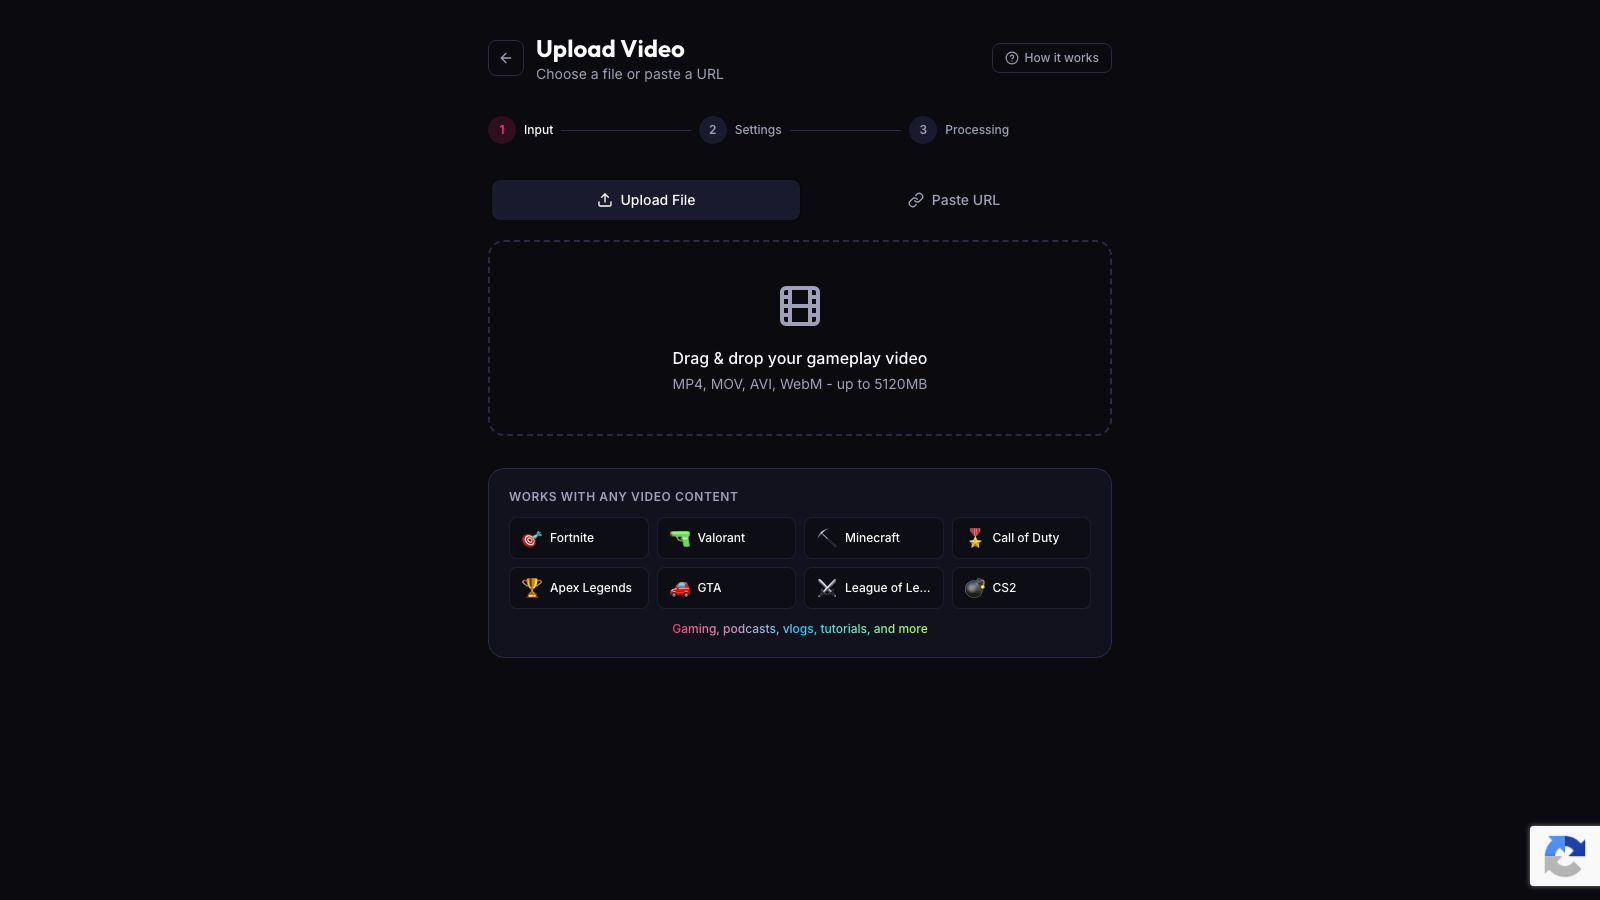
Then:
- choose Vertical (9:16) for Shorts and TikTok,
- turn on Facecam Detection so your camera stays in frame,
- pick a caption style.
If you already know exactly which part you want, Manual mode lets you set the start and end yourself.
Which option to use
| Goal | Use |
|---|---|
| Share one moment now | Twitch Clip |
| Keep part of the stream on your channel | Highlight |
| Many vertical clips for Shorts and TikTok | Download the VOD and clip it |
Sources
- Twitch Help: Video on demand
- Twitch Developers: Clips API
- Twitch Help: Copyrighted audio warnings
Written with AI assistance, then fact-checked and edited by Predrag Mitrovic.
Turn your next stream into Shorts
Upload a VOD or gameplay recording and ViceForge finds the best moments, cuts vertical clips and adds captions.
Clip a video with ViceForgeMore from Guides
How to Avoid Copyright Claims When Turning VODs into Shorts
Music in the background, game soundtracks and the one-minute rule on YouTube. Where claims come from when you turn streams into Shorts, and how to keep your clips online.
Captions for Gaming Clips: Styles That Keep Viewers Watching
Many people scroll short-form feeds with sound off. Why captions matter for gaming clips, where to place them so they do not cover the action, and which styles fit which games.
How to Find the Best Moments in a Long Stream
A four-hour stream might hold five clips worth posting. Signals that point to them, a manual method that works, and how AI finds them by watching and listening.